Introduction
A 144Hz monitor offers a superior experience with its high refresh rate, providing smooth visuals, especially during gaming. However, many users face the frustrating issue of their 144Hz monitor being capped at 60Hz. This guide explores the reasons behind this problem and provides effective solutions to help you unleash the full potential of your monitor.
Understanding the Basics of Refresh Rates
What is a Refresh Rate?
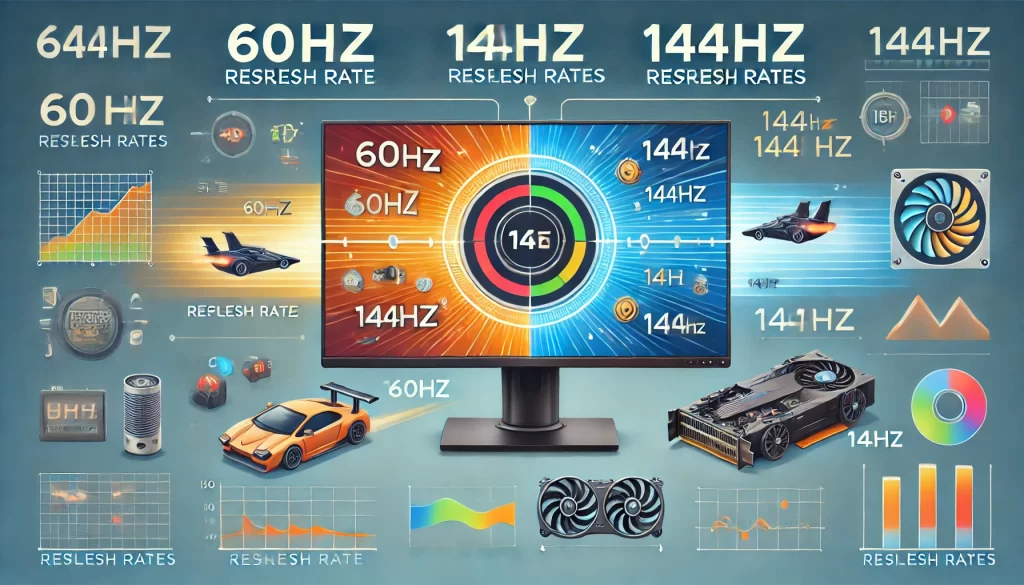
The refresh rate, measured in Hertz (Hz), indicates how many times per second your monitor updates with new information. A higher refresh rate means smoother visuals. For example, a 60Hz monitor refreshes the image 60 times per second, while a 144Hz monitor does so 144 times per second. This increased frequency reduces motion blur and makes for a much smoother visual experience, especially noticeable in fast-paced gaming or video playback.
Importance of 144Hz Monitors
144Hz monitors significantly enhance the visual experience, particularly in fast-paced environments like gaming, reducing motion blur and improving responsiveness. Gamers prefer these monitors because they provide a competitive edge, offering smoother motion and reduced input lag. This advantage can be critical in fast-action games where every millisecond counts. Additionally, higher refresh rates reduce eye strain, making them beneficial for extended use, whether for gaming, professional work, or casual browsing.
Common Causes for 144Hz Monitor Capped at 60Hz
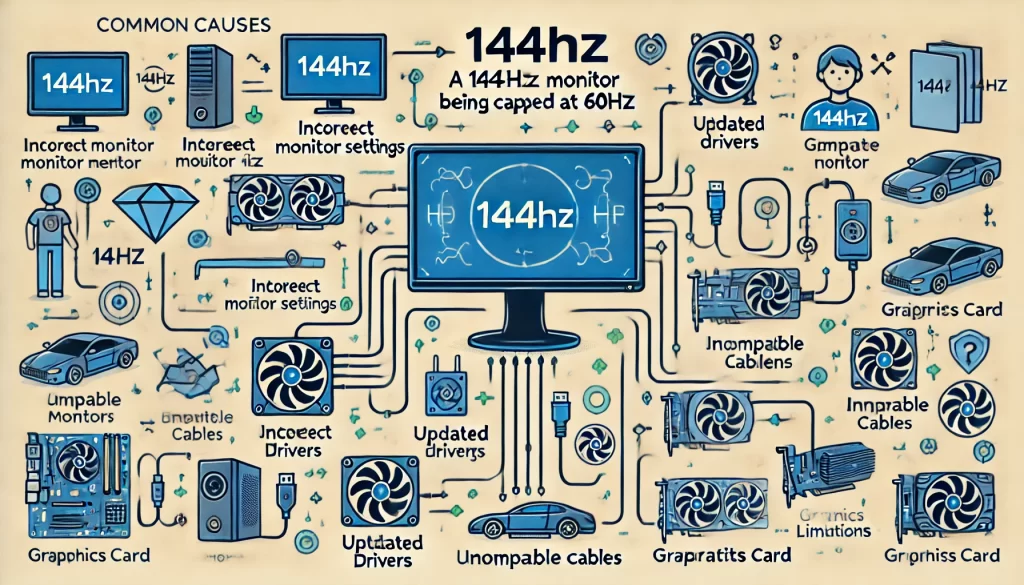
Incorrect Monitor Settings
Often, the monitor’s refresh rate setting in the operating system defaults to 60Hz instead of 144Hz. This can happen during initial setup or after updates. Users might not realize that they need to manually set the monitor to 144Hz.
Outdated or Missing Drivers
Display drivers, if outdated or improperly installed, can prevent your monitor from achieving its optimal refresh rate. Graphics card manufacturers frequently update drivers to support new hardware and improve performance, so keeping drivers up to date is essential.
Incompatible Cables
Certain cables, like older HDMI versions, might not support higher refresh rates, leading to a cap at 60Hz. DisplayPort and HDMI 2.0/2.1 are recommended for 144Hz, whereas older HDMI versions lack the necessary bandwidth.
Graphics Card Limitations
Not all graphics cards support high refresh rates; ensuring compatibility is crucial. Lower-end or older graphics cards may only support 60Hz at higher resolutions, requiring users to either upgrade their GPU or lower the resolution to achieve higher refresh rates.
Troubleshooting Steps
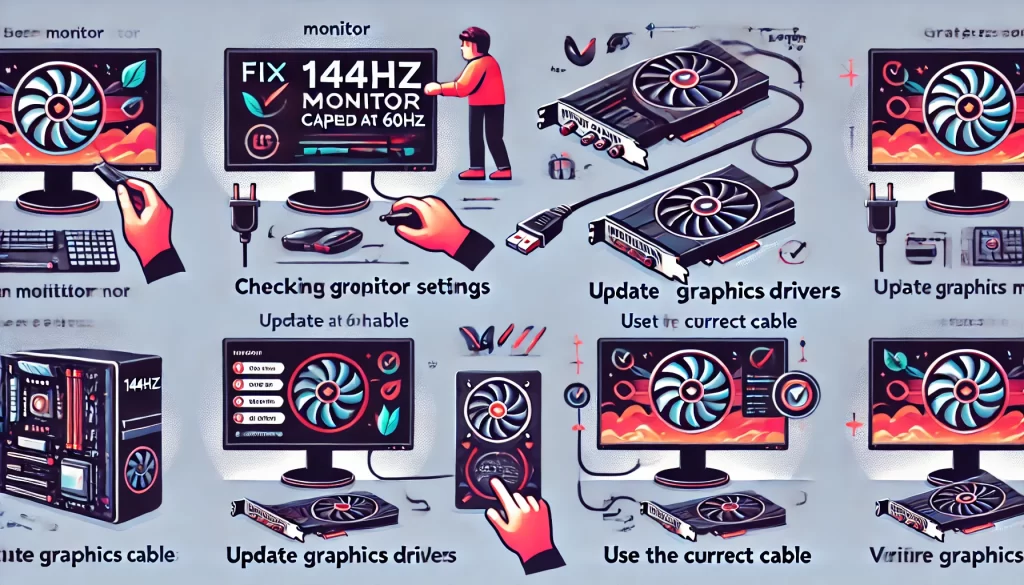
Checking Monitor Settings
Navigate to display settings in your operating system to manually set the refresh rate to 144Hz. This process differs slightly between operating systems, but generally involves accessing the advanced display settings and selecting the appropriate refresh rate from a dropdown menu.
Updating Graphics Drivers
Regularly update your graphics drivers to ensure compatibility with high refresh rates. Using tools like NVIDIA GeForce Experience or AMD Radeon Software can simplify this process by automatically notifying you of new driver updates and installing them.
Using the Correct Cable
Ensure you use DisplayPort or HDMI 2.0/2.1 cables that support 144Hz. Check the specifications of your cables and replace them if they do not meet the required standards.
Checking Graphics Card Compatibility
Verify if your graphics card supports 144Hz at your monitor’s resolution. This information can typically be found on the manufacturer’s website or through detailed product specifications.
Detailed Guide to Fixing 144Hz Monitor Capped at 60Hz
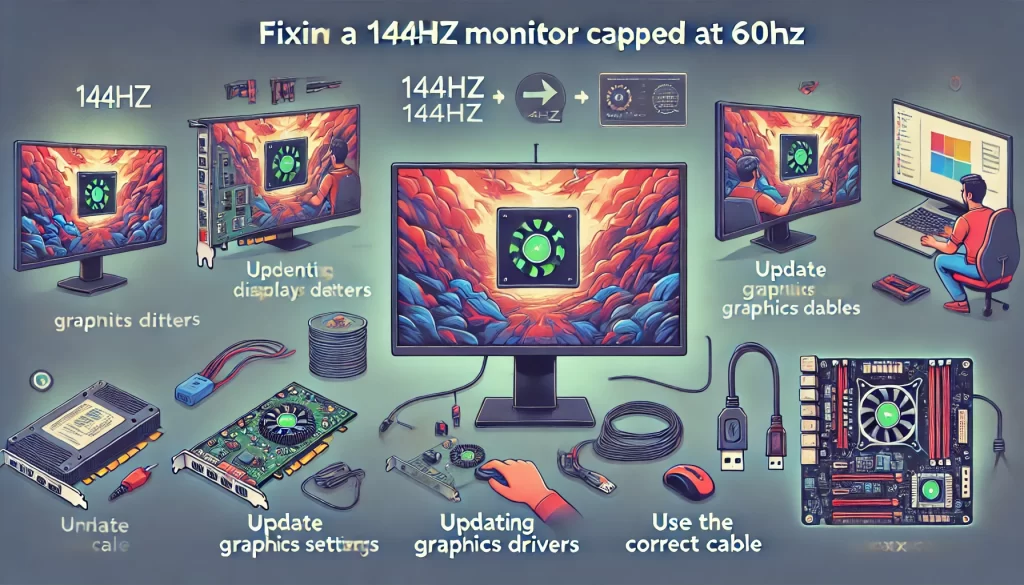
Step-by-Step Instructions for Windows
Accessing Display Settings
- Right-click on the desktop and select “Display settings.”
- Scroll down and click on “Advanced display settings.”
- Under “Refresh rate,” select 144Hz if available. If the option is not visible, ensure your monitor is correctly connected and recognized by the system.
Updating Graphics Drivers
- Open “Device Manager” from the Start menu.
- Expand “Display adapters.”
- Right-click your graphics card and select “Update driver.”
- Follow the prompts to update. You can also visit the manufacturer’s website to download the latest drivers directly.
Using the Correct Cable
- Ensure your monitor and graphics card are connected using DisplayPort or a compatible HDMI cable.
- Replace older cables that do not support higher refresh rates. Cables are often overlooked, but using the right one is critical for achieving 144Hz.
Verifying Graphics Card Compatibility
- Check the specifications of your graphics card online.
- Ensure it supports 144Hz at your monitor’s resolution. If not, consider upgrading your graphics card to one that does.
Step-by-Step Instructions for macOS
Accessing Display Settings
- Click the Apple menu and select “System Preferences.”
- Go to “Displays.”
- Hold the “Option” key and click “Scaled” to see the refresh rate options.
- Select 144Hz if available. If the option is not present, check your connections and ensure your monitor is recognized by the system.
Updating Graphics Drivers
- macOS usually handles driver updates automatically.
- Ensure your macOS is updated to the latest version. If issues persist, consider contacting Apple support or visiting an Apple store for further assistance.
Using the Correct Cable
- Use a Thunderbolt to DisplayPort or a high-speed HDMI cable.
- Check compatibility with your monitor’s requirements. macOS is particular about cables, so using the correct one is essential.
Verifying Graphics Card Compatibility
- Check your Mac’s specifications on Apple’s support site.
- Confirm support for 144Hz at your monitor’s resolution. If your Mac does not support it, you may need to consider an external GPU solution.
Advanced Solutions
BIOS/UEFI Settings
Some motherboards have settings that can affect monitor refresh rates. Ensure your BIOS/UEFI is configured correctly. Enter your BIOS/UEFI during boot (usually by pressing Delete, F2, or a similar key) and check for settings related to your graphics output and refresh rates.
Monitor Firmware Updates
Manufacturers occasionally release firmware updates for monitors that can resolve refresh rate issues. Check your monitor’s support page for updates and follow the manufacturer’s instructions for updating the firmware.
Using Third-Party Software
Software like CRU (Custom Resolution Utility) can help force higher refresh rates on compatible monitors and graphics cards. CRU allows you to create custom resolutions and refresh rates, which can sometimes bypass limitations imposed by standard drivers and settings.
Potential Issues and Fixes
Black Screen After Changing Refresh Rate
Sometimes, setting a higher refresh rate can result in a black screen. Revert to the previous setting by restarting in safe mode and adjusting the settings. This issue often occurs due to incompatible settings or insufficient bandwidth from your cable.
Refresh Rate Not Sticking After Reboot
Ensure that your settings are saved correctly, and try reinstalling drivers if the refresh rate resets after rebooting. Sometimes, settings can revert if not properly applied, so double-check and apply changes thoroughly.
Intermittent Flickering
This can be caused by faulty cables or ports. Try using a different cable or port to resolve the issue. Flickering might also indicate a problem with the monitor itself, in which case contacting the manufacturer for support may be necessary.
Maximizing Your 144Hz Monitor
Regular Maintenance and Updates
Regularly update your system, including graphics drivers, to avoid compatibility issues. Keeping your hardware and software up to date ensures optimal performance and can prevent many common issues.
Optimizing System Settings
Ensure your system is optimized for performance, including settings related to power management and performance profiles. High-performance modes can help maintain consistent refresh rates and improve overall system responsiveness.
External Factors Affecting Refresh Rates
Environmental factors, such as electromagnetic interference, can occasionally affect monitor performance. Ensure your setup is free from such interference by keeping other electronic devices at a distance.
Advanced Gaming Setups
For gamers, using G-Sync or FreeSync technology can enhance the experience further by synchronizing the monitor’s refresh rate with the GPU’s frame rate, reducing screen tearing and stuttering. Ensure these technologies are enabled in your system settings if supported by your monitor and graphics card.
Conclusion: Maximizing Your 144Hz Monitor
By following the above steps, you can unlock the full potential of your 144Hz monitor, ensuring a smoother and more responsive experience. Regularly updating your drivers, using compatible hardware, and correctly configuring settings are key to avoiding issues with refresh rates. Embracing these practices will not only enhance your gaming experience but also improve overall system performance.
FAQs
Why is my 144Hz monitor only showing 60Hz in display settings?
Your monitor might be using an incorrect cable, or your graphics drivers might be outdated. Ensure you are using a compatible cable and update your drivers.
Can HDMI support 144Hz?
Yes, but only specific versions like HDMI 2.0 and above. Older versions typically do not support 144Hz.
How do I know if my graphics card supports 144Hz?
Check the specifications of your graphics card on the manufacturer’s website to confirm if it supports 144Hz at your monitor’s resolution.
Why does my screen go black when I switch to 144Hz?
This could be due to an incompatible cable or an issue with your monitor’s firmware. Ensure you are using the correct cable and check for firmware updates.
What should I do if the refresh rate keeps resetting to 60Hz?
Try reinstalling your graphics drivers and ensure your monitor settings are correctly configured. Also, check for any BIOS/UEFI settings that might be affecting the refresh rate.
Is a DisplayPort better than HDMI for 144Hz?
DisplayPort typically offers more bandwidth and better support for higher refresh rates like 144Hz compared to HDMI, especially older versions.
